
Getting Started with ZenWave 360
Section titled “Getting Started with ZenWave 360”Installation
Section titled “Installation”We recommend using SDKMAN! to install ZenWave SDK requirements: Java 17+, Maven, and JBang.
NOTE: Temurin (Eclipse) is a good option for Java JDK because it is high performance, enterprise-caliber, and open-source licensed.
ZenWave SDK Installation
Section titled “ZenWave SDK Installation”Use JBang to install an evergreen self-updating CLI for the ZenWave SDK.
jbang alias add --force --fresh --name=zw release@zenwave360/zenwave-sdkNOTE: You can install ZenWave versions from different channels: release for the latest stable version and snapshots for development versions. They can be installed side by side using different --name=<alias> values, or independently.
Install ZenWave Editor IntelliJ Plugin
Section titled “Install ZenWave Editor IntelliJ Plugin”Install ZenWave Editor IntelliJ Plugin from JetBrains Marketplace:
For rendering class diagrams in markdown preview, install the PlantUML Integration plugin.
NOTE: ZenWave Editor will use the jbang zw command to execute plugins, so you need JBang available in the PATH of the console configured by default in IntelliJ.
Spring Boot Base Project
Section titled “Spring Boot Base Project”ZenWave SDK only generates business logic code and tests. It is expected to work with any compatible Spring Boot project. The default backend generator is based on a Maven single-module project.
We expect most companies and teams to have their own starter base project. If you do not have one, you can create one from https://start.spring.io or clone one of the ZenWave 360 base projects from our GitHub playground repository.
NOTE: These baseline projects come with OpenAPI Generator and ZenWave SDK Maven plugins already configured, so you do not have to.
ZenWave SDK generated code was tested with Spring Boot up to 3.5.0, Hibernate 6.x, MongoDB 5, and Spring Cloud 2024.0.0. Because it only generates business code without any exotic dependency, it should work with any compatible version.
Once you have installed ZenWave SDK CLI and IntelliJ Plugin, you are ready to start modeling your domain and generating code.
Examples & Tutorials
Section titled “Examples & Tutorials”You can check out DDD Examples and EDA Examples, in particular Customer Address JPA Service, a canonical ZenWave example of a DDD aggregate with JPA persistence and externalized domain events. It will provide you a complete explanation of how to use ZenWave ZDL + SDK, what generated code looks like, and what you can expect from it.
You can also follow this tutorial for a dive into ZenWave modeling and code generation: DDD In Practice: From Ubiquitous Language DSL to Complete Spring Boot Kotlin Project
ZDL Modeling and Code Generation
Section titled “ZDL Modeling and Code Generation”Scroll left/right for a quick overview of how ZDL modeling looks with an example. Then follow the instructions below.
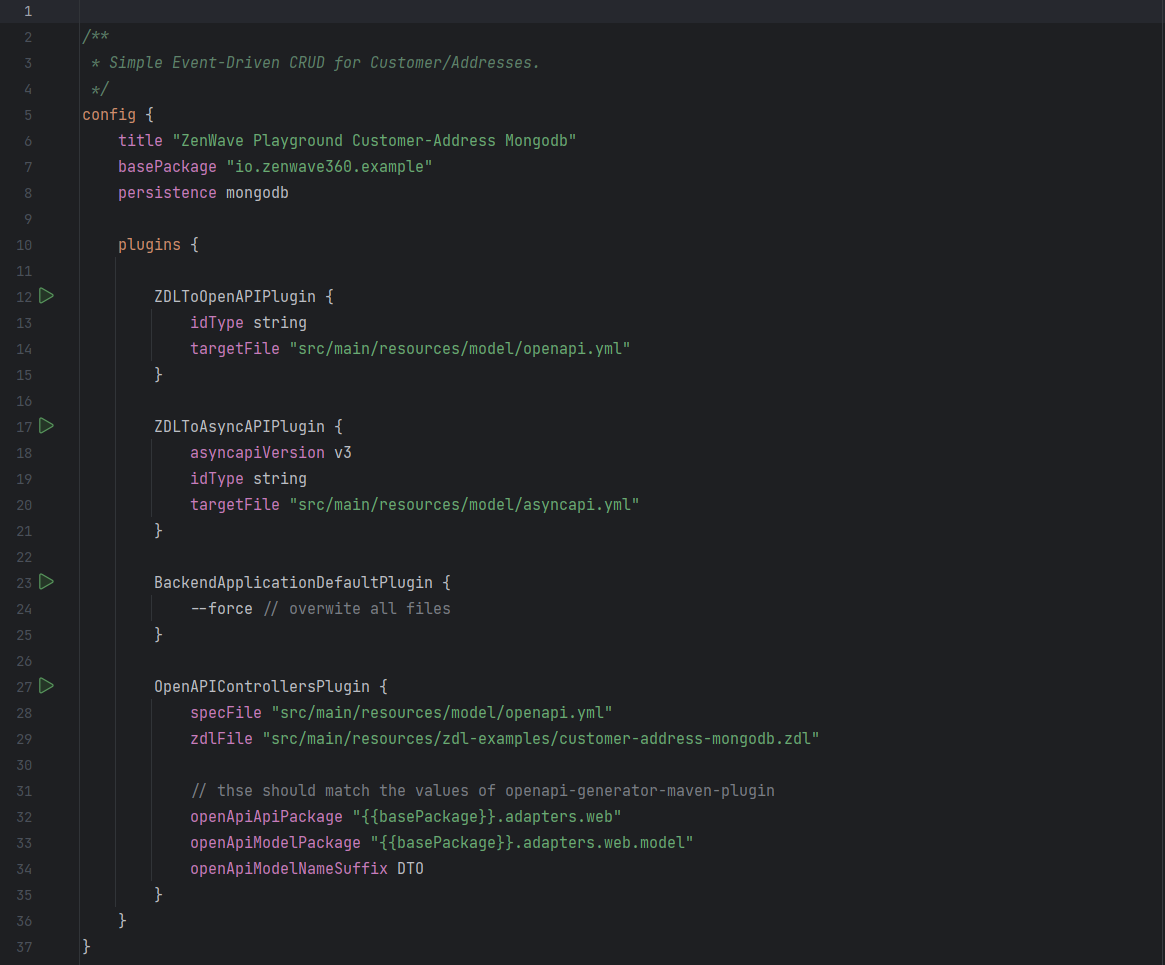
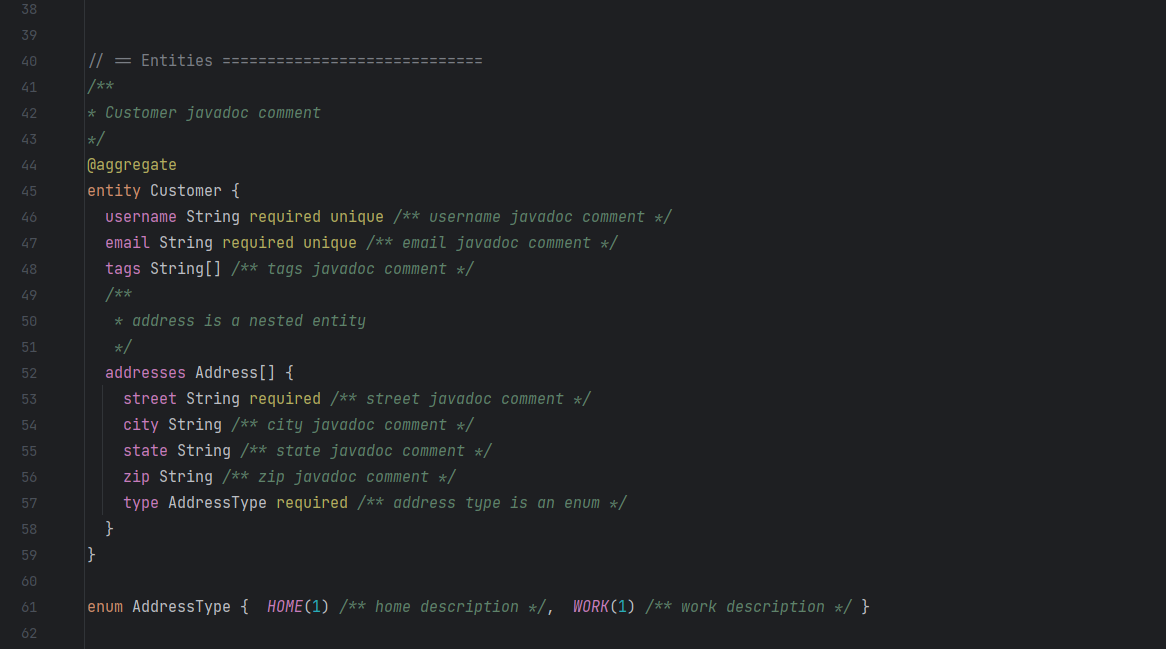
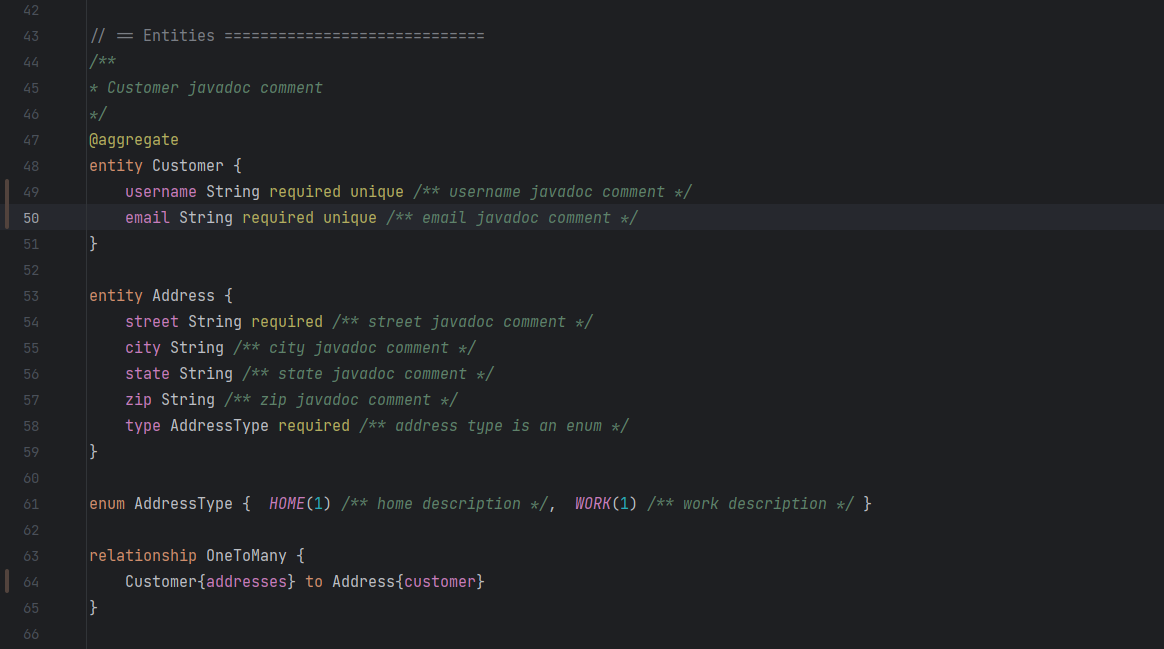
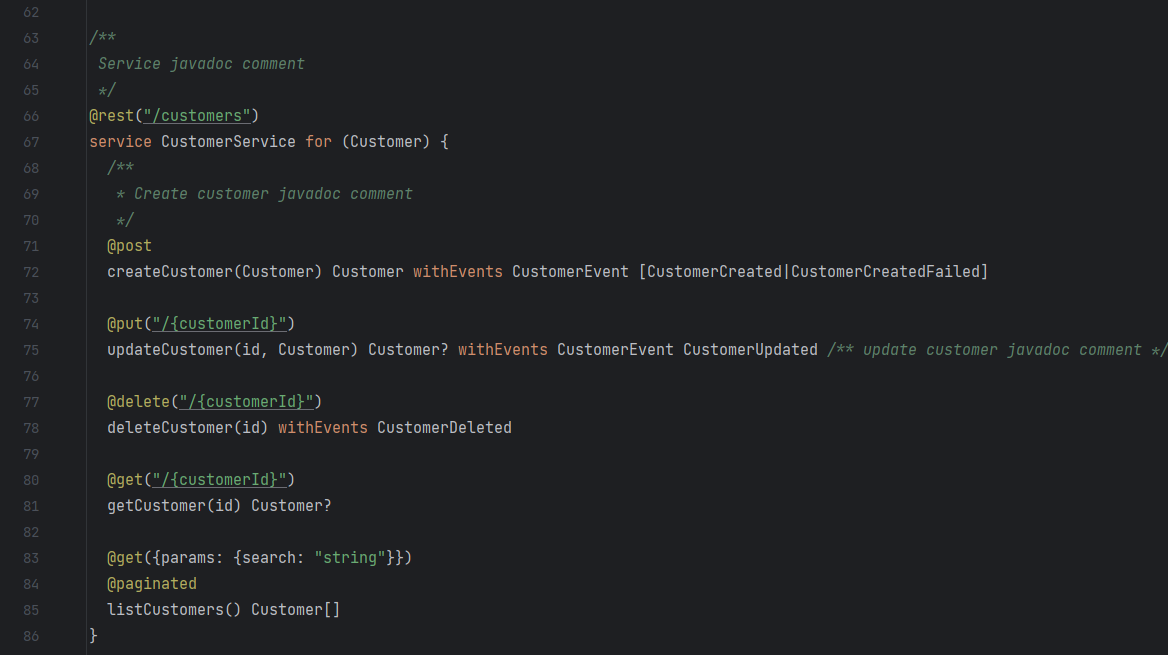
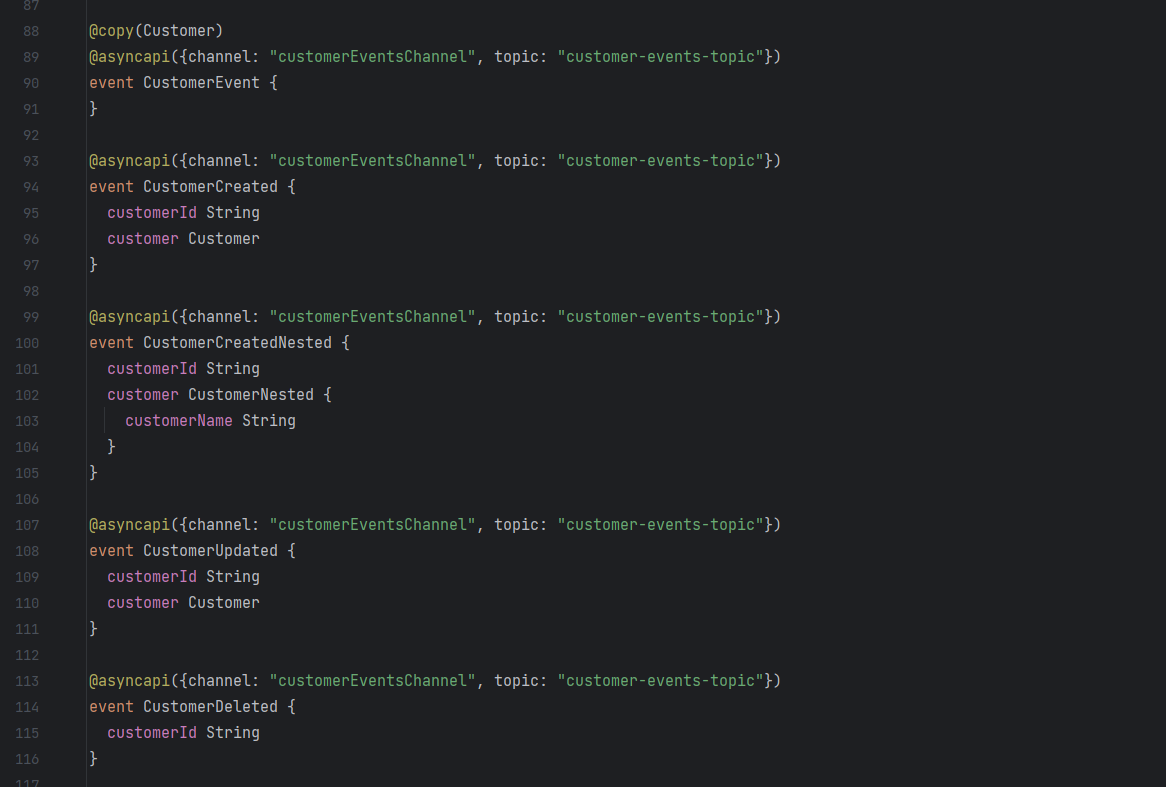
Create a new ZDL model or use one of the ZDL examples as a base:
- Create a new file with the
.zdlextension. - Model your bounded context by adding entities, services, inputs, and events.
- Add ZenWave SDK plugins to the ZDL
configsection. You can use IntelliJ live templates for this task. - Follow these steps to generate code and tests from your model:
- Generate API definitions from your model. OpenAPI and AsyncAPI v2/v3 are supported.
- Customize your API definitions. They are the source of truth for outbound and inbound communications.
- Configure API-first generators in
pom.xmlfor OpenAPI and AsyncAPI. - Generate your core backend code and tests. ZenWave SDK can generate CRUD implementation for your services.
- Customize generated code by implementing non-CRUD service commands, and customize generated tests.
- Implement adapter code for web and events, connecting API-first generated code with your core backend. ZenWave SDK can generate stub implementations for some adapters.
- Run your tests and start your application.